


Cut-To-Fit Belt Tutorial
Time to break out a pen and paper and get ready for some knowledge. Paul Evans exclusively carries cut-to-fit genuine Italian leather handmade belts from Naples. As the name implies, cut-to-fit belts require a manual cutting for a completely custom fit. If you own any off-the-rack belts that are just a tad too large or small because of the hole placement, you're going to love our cut-to-fit belts. We recommend taking our belts to a professional shoe cobbler who will be able to measure and cut any belt in just a few minutes. If you'd prefer to do it yourself, here's a step-by-step guide:

1. Wrap the belt around your waist and measure the excess leather. We recommend you measure to the middle buckle hole.

2. Lay the belt flat with the screw facing upward. Time to break out that philips screwdriver.

3. Unscrew the buckle from the waist strap.

4. Remove the buckle from the waist strap. Don't lose that screw!

5. Using the previously measured dimensions from step 1, mark off the extra leather.
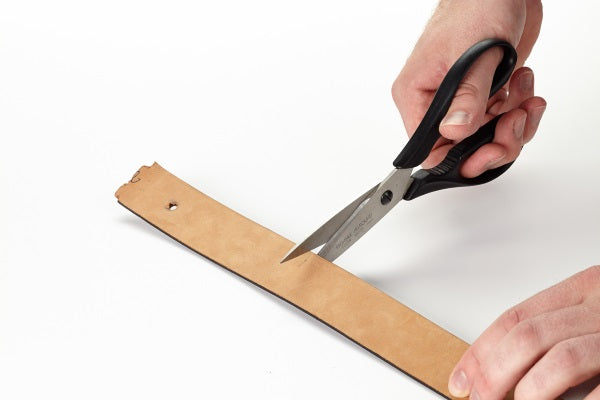
6. Break out some heavy-scissors and cut away the excess leather at the spot you marked.

7. Using a sharp knife, cut a whole in the middle of the waist strap. This is where you will re-affix the buckle.

8. Insert the waist strap back into the buckle and screw back on.

And there you have it. The perfect belt in under 5 minutes.
- Tags: How-To